
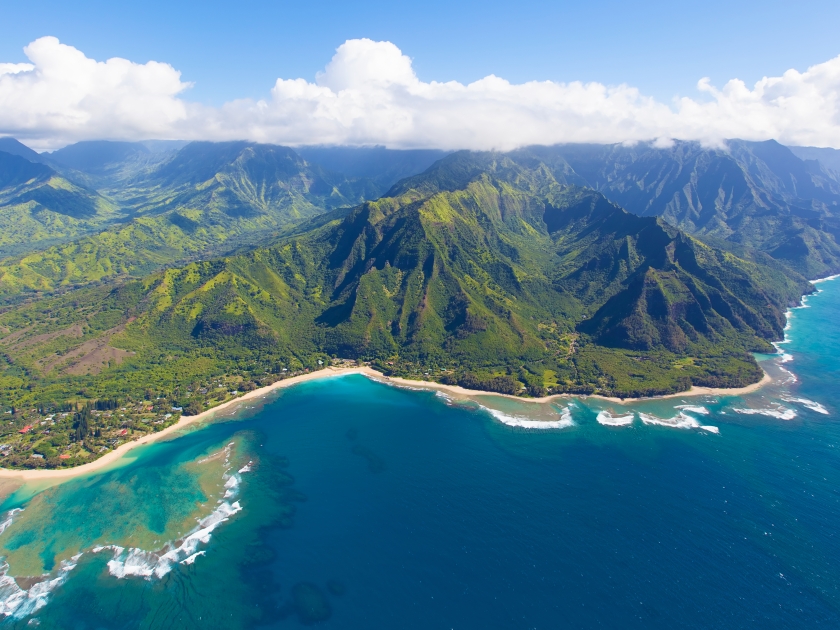
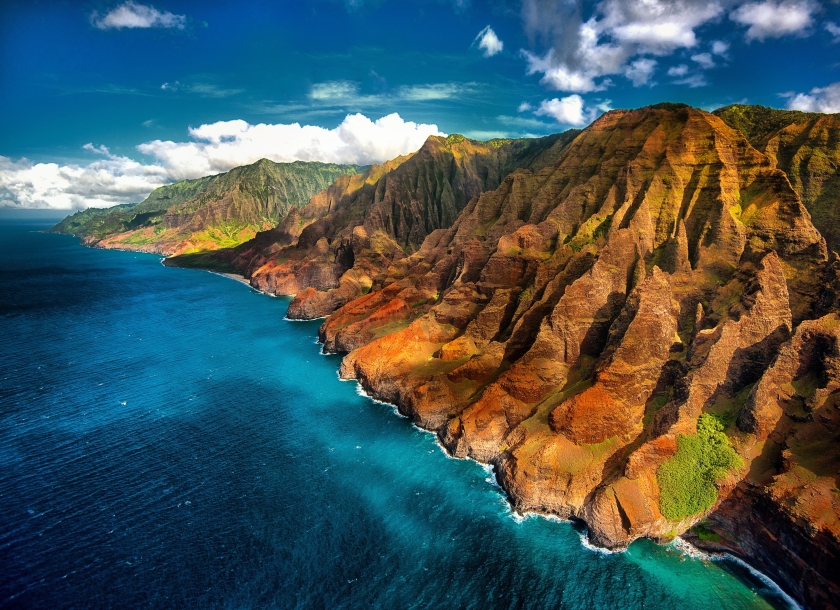
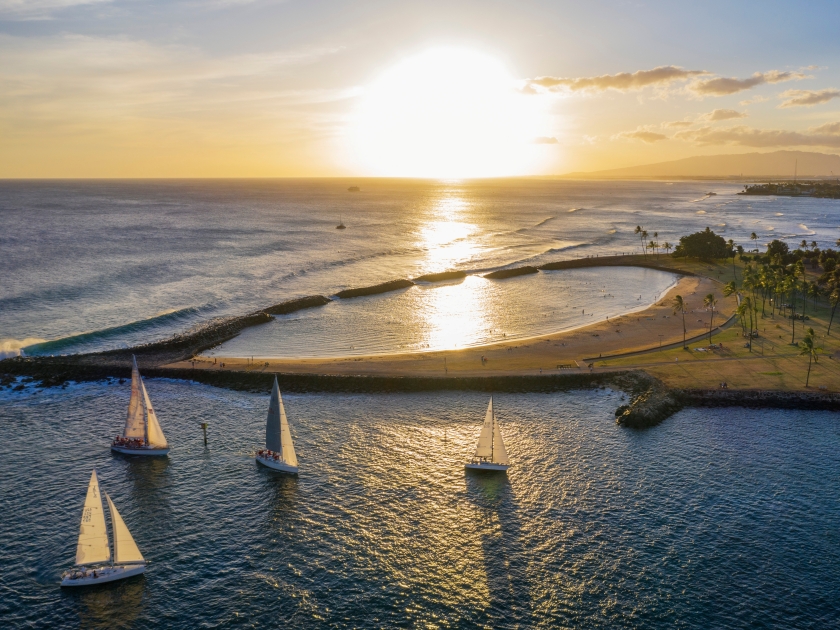
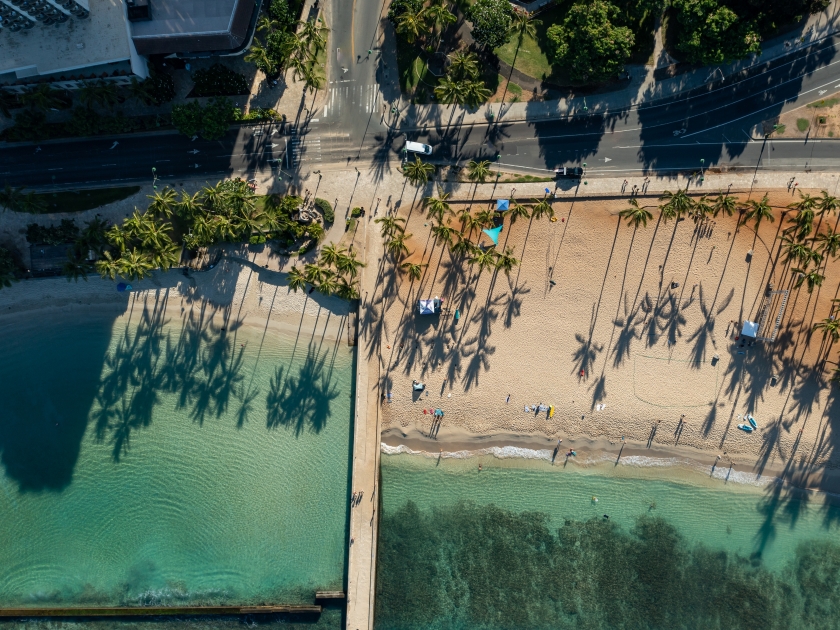
Hawaii, with its breathtaking landscapes, offers a unique canvas for aerial photography enthusiasts. The thrill of soaring over the islands, combined with the ability to capture majesty through the lens, makes aerial photography in Hawaii a sought-after adventure. This guide is designed to equip photographers, from novices to seasoned professionals, with the essential tips and techniques needed to take awe-inspiring aerial photos during a helicopter tour in Hawaii. We’ll cover everything you need to know to transform your helicopter journey into a visually stunning photographic expedition.
Contents
Understanding Aerial Photography
Aerial photography, especially from helicopters, presents a unique blend of challenges and opportunities for photographers. The primary challenge lies in dealing with the movement and vibration of the helicopter, which can make it difficult to capture sharp images. Additionally, shooting through glass windows can introduce reflections and glare that compromise the quality of the photos. However, the opportunities it presents are unparalleled. Aerial photography opens up a world of creative possibilities, from capturing the grandeur of vast landscapes to focusing on the intricate patterns and textures of the earth below. By understanding the basics of aerial photography and learning how to overcome these challenges, photographers can fully leverage the opportunities to create stunning, unique images that showcase the beauty of the world from above.
Choosing the Right Equipment
Selecting the right equipment is crucial for success in aerial photography, especially when capturing the diverse and dynamic landscapes of Hawaii from a helicopter. The best cameras for this purpose are those that offer high image quality, fast autofocus, and robust image stabilization features to counteract the movement of the helicopter. DSLR and mirrorless cameras are popular choices among aerial photographers for their versatility and superior performance in various lighting conditions. Essential accessories to accompany your camera include extra batteries and memory cards, as flights can last several hours, and the opportunity for repeated shots is limited. A polarizing filter is also invaluable for reducing reflections and enhancing the natural colors of the landscape below. When it comes to lens selection, a wide-angle lens is indispensable for capturing expansive landscapes, such as Hawaii’s coastlines and volcanoes, while a telephoto lens can be useful for zooming in on specific features like waterfalls or wildlife.
Preparation Before the Flight
Prioritizing safety measures and conducting a thorough equipment check ensures that your gear is in optimal condition and securely fastened, minimizing the risk of accidents or damage during flight. Familiarizing yourself with the helicopter tour routes and identifying scenic points of interest in advance can significantly enhance your shooting plan, allowing you to anticipate and prepare for the shots you aim to capture. Timing is also a critical factor; scheduling your flight during the golden hours—shortly after sunrise or before sunset—can dramatically elevate the quality of your images. The soft, diffused light during these times accentuates the textures and colors of the landscape, reducing harsh shadows and highlights, and imbuing your photographs with a warm, golden glow that is especially flattering for Hawaii’s natural features.
Camera Settings for Aerial Shots
Shutter Speed and Aperture Settings
Mastering camera settings is essential for capturing sharp and compelling aerial shots. A fast shutter speed is critical to freeze motion and counteract the movement of the helicopter, with speeds of at least 1/1000th of a second recommended to ensure clarity. Aperture settings may vary based on the desired depth of field and lighting conditions; however, a smaller aperture (around f/8 to f/11) often provides a good balance between sufficient light entry and a wider depth of field to keep more of the landscape in focus.
ISO and White Balance for Aerial Photos
ISO should be kept as low as possible to minimize noise, but it may need adjustment depending on the available light, especially during early morning or late afternoon flights. Auto ISO can be a useful setting to allow the camera to adjust sensitivity on the fly without sacrificing shutter speed or aperture preferences. White balance can typically be set to auto as well, though adjustments may be necessary to accurately capture the vivid colors of Hawaii’s landscapes under varying lighting conditions.
Focus Modes and Image Stabilization
Utilizing autofocus with continuous (AF-C) mode can help maintain focus on moving subjects or landscapes, while image stabilization (either in-lens or in-body) is invaluable for reducing the impact of vibrations and ensuring sharp images.
Techniques for Capturing Stunning Aerial Photos
Composition Techniques for Aerial Photography
Successful aerial compositions often leverage the unique vantage point by incorporating fundamental principles such as the rule of thirds, where the frame is divided into nine equal segments to create balance and interest. This technique helps photographers to strategically place points of interest in their shots, ensuring the images are well-balanced and engaging. Leading lines are another powerful compositional tool in aerial photography, guiding the viewer’s gaze through the photograph and highlighting key features, whether they’re natural formations like rivers and mountain ranges or man-made structures. Additionally, looking for patterns and symmetry from the air can result in visually striking images, as the elevated perspective often reveals repetitive and intriguing patterns in both natural and urban landscapes that are not visible from the ground. Emphasizing contrasts, such as the juxtaposition of land and water or urban areas against natural ones, can also enhance the composition by adding depth and dimension to the scene.
Managing Vibration and Motion Blur
Managing vibration and motion blur is a critical aspect of aerial photography, especially when shooting from a helicopter, where constant movement can significantly impact image clarity. To combat these challenges, photographers should prioritize the use of a fast shutter speed, typically no slower than 1/1000th of a second, to freeze motion effectively and ensure sharp images. Additionally, leveraging image stabilization technology, either built into the camera body or the lens, can greatly reduce the effects of vibration on image quality. This technology compensates for small movements, making it possible to capture clearer and more detailed shots from the air. Another effective strategy is to increase the camera’s ISO setting, allowing for faster shutter speeds without compromising exposure in lower light conditions. However, it’s crucial to balance this with the potential for increased noise at higher ISO levels.
Creative Angles and Perspectives
When shooting from a helicopter, photographers have the unique advantage of accessing vantage points that are impossible to achieve from the ground. This freedom allows for experimentation with various angles, such as oblique views that capture the landscape at a slant, providing depth and a sense of scale, or shooting straight down for a more abstract, pattern-focused composition. Playing with perspectives can also mean framing shots to include elements like the horizon, which adds context, or utilizing the helicopter’s own shadow or reflection as a compositional element. By seeking out unusual angles and perspectives, photographers can highlight the juxtaposition between natural and man-made environments, reveal hidden patterns in the landscape, and tell compelling stories through their images.
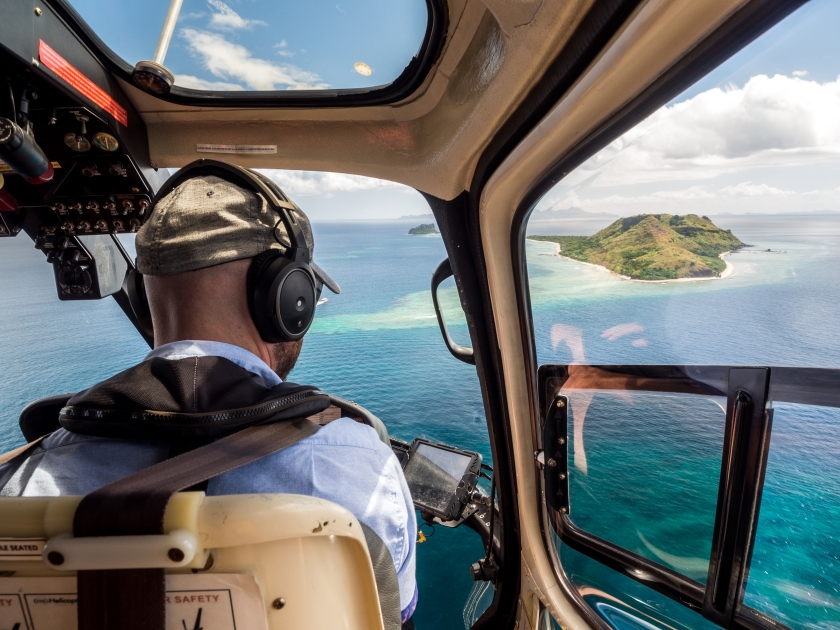
Shooting through Glass
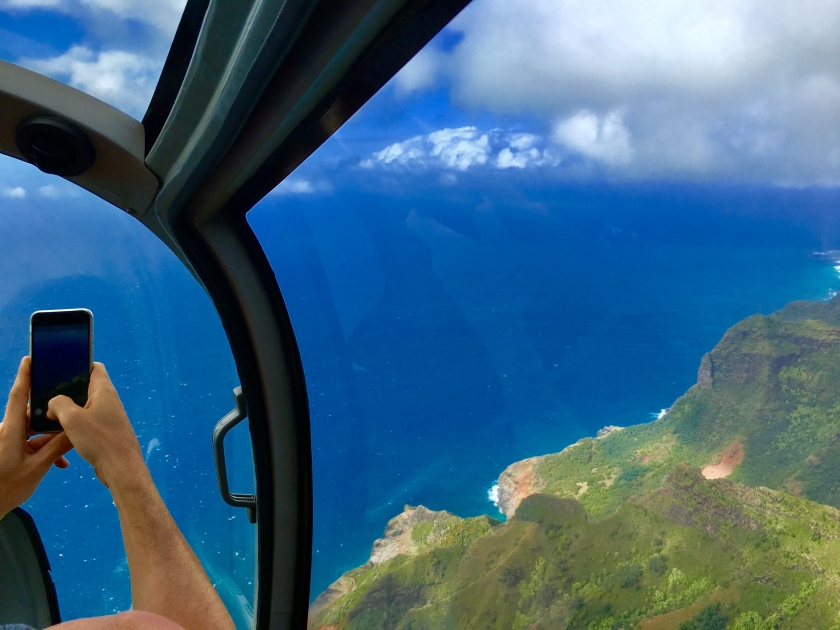
Shooting through the helicopter’s windows poses a unique set of challenges, primarily due to reflections and glare that can detract from the quality of your aerial photographs. To mitigate these issues, one effective strategy is to use a polarizing filter, which can significantly reduce reflections on the glass and enhance the natural colors and contrasts of the scene outside. Additionally, wearing dark clothing can help minimize reflections of yourself and the interior of the helicopter in your shots. Positioning the lens as close as possible to the window without actually touching it can also reduce the amount of reflected light entering the lens. It’s important to angle your camera slightly away from direct sunlight to avoid glare that can wash out your images. If possible, choose a seat ahead of time that will provide the clearest, unobstructed view, and communicate with your pilot about your intent to take photographs, as they may be able to assist in positioning the helicopter for optimal lighting conditions.
Post-Processing Aerial Photographs
After your aerial photography flight, the post-processing stage is crucial for transforming good shots into stunning visuals. Basic editing tips involve adjusting exposure, contrast, and saturation to bring out the true colors and details of your aerial photos. Tweaking the shadows and highlights can further enhance the depth and dimension of the images. Cropping is also a powerful tool, allowing you to improve composition or focus more closely on the subject matter. For those seeking professional-looking results, advanced editing techniques such as HDR (High Dynamic Range) merging can be employed to balance exposure across the image, especially useful for scenes with extreme contrasts. Techniques like sharpening can add clarity, while noise reduction can clean up any graininess caused by high ISO settings. Furthermore, color grading can set the mood and atmosphere of your photos, giving them a unique look.
Common Mistakes to Avoid
- Avoid using polarizing filters indiscriminately, as they can vary in effectiveness based on the angle of the sun and can sometimes enhance window reflections.
- Relying solely on automatic settings may not always yield the best results; don’t forget to adjust ISO settings according to the changing light conditions.
- Resist the urge to overpack gear; minimal equipment allows for quicker adjustments and less to manage in a confined space.
- Avoid shooting only in wide-angle; using a variety of focal lengths can capture more detailed and varied perspectives.
- Don’t neglect post-processing; even well-captured aerial shots can benefit from careful editing to bring out their full potential.
- Be cautious not to disregard privacy laws and ethical considerations when capturing images of populated areas or private property.
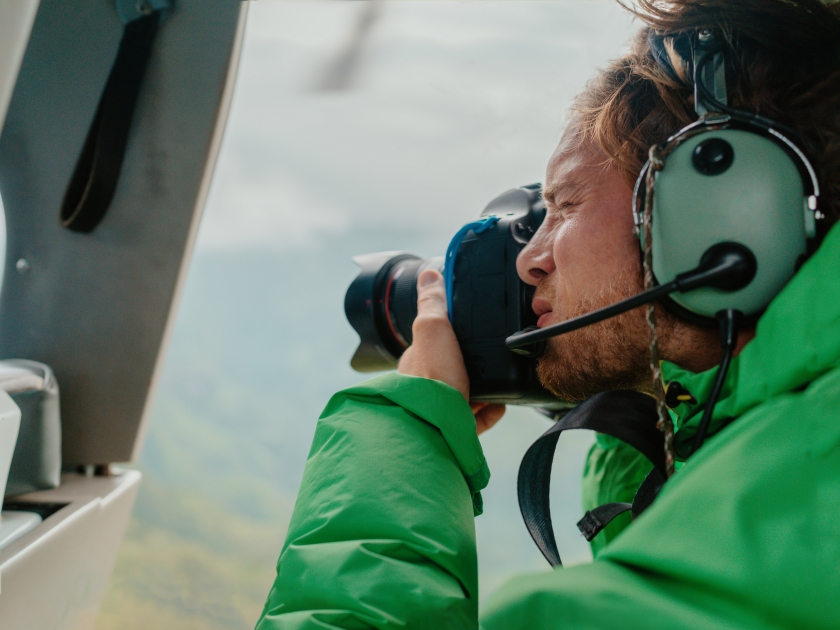
Tips for Capturing Aerial Photos with a Smartphone
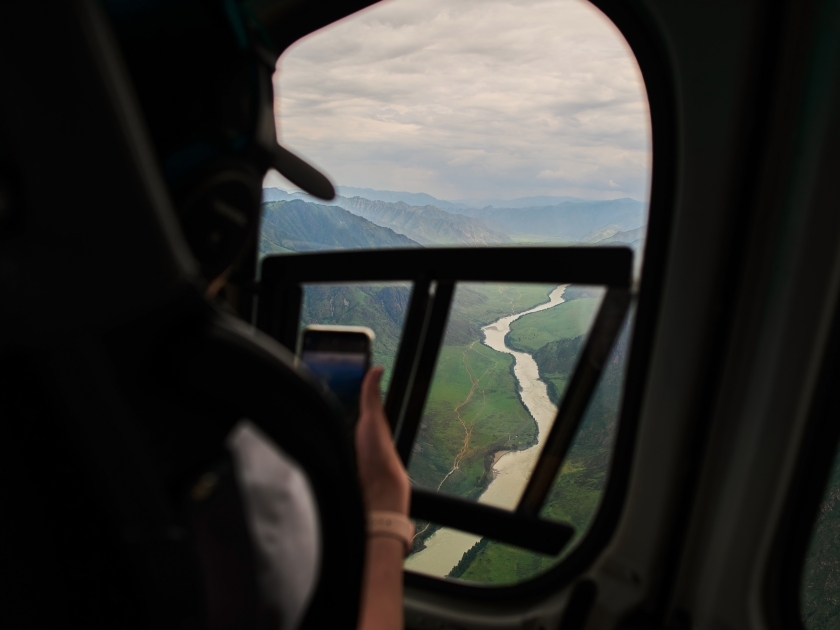
Smartphone photography, especially for capturing aerial views during helicopter tours, has become increasingly popular due to the advanced capabilities of modern mobile devices. Here are some tips for those using their phones to take aerial photos:
- Use Grid Lines for Composition: Activate the grid lines feature in your camera app to help compose your shots more effectively, utilizing the rule of thirds to balance elements in the frame.
- Focus and Exposure: Tap the screen to set the focus and adjust the exposure manually if your phone allows it. This will help ensure your subject is sharp and well-lit, especially important in the varying lighting conditions seen during flight.
- Avoid Digital Zoom: Digital zoom can degrade image quality. Instead, capture the scene as is and crop the photo later during editing to maintain resolution.
- Clean Your Lens: Smudges can significantly affect image clarity, especially when shooting through a window.
- Use Burst Mode for Moving Subjects: To increase your chances of capturing a clear shot of moving landscapes or wildlife, use burst mode. This takes multiple shots in quick succession, giving you a variety of images to choose from.
- HDR Mode: Use High Dynamic Range (HDR) mode to balance the light in scenes with high contrast, such as landscapes where the sky is much brighter than the land.
- Battery Life and Storage: Aerial tours can last a while, and you don’t want to miss out on photo opportunities because of a dead battery or full storage.
- Window Reflections: If shooting through a window, minimize reflections by holding your phone close to the glass and using your body or a piece of clothing to block out as much light as possible.
- Stabilization: Try to stabilize your phone as much as possible, especially if your device doesn’t have built-in optical image stabilization. Bracing your arms against your body or the helicopter can help reduce shaking.
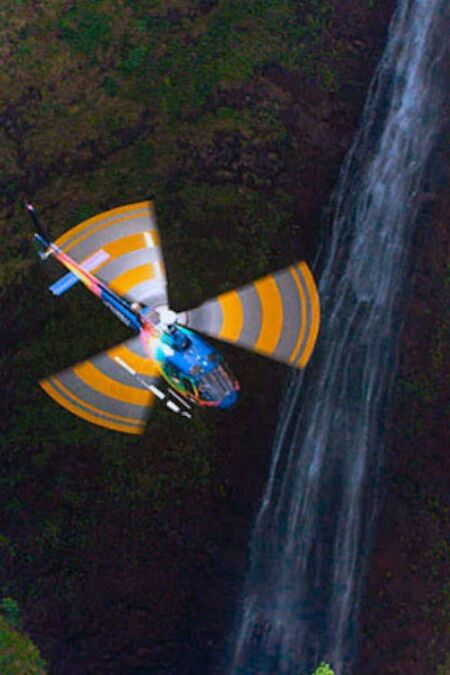
Best Helicopter Tours for Aerial Photography in Hawaii
Choosing the best helicopter tour for aerial photography in Hawaii involves considering several key factors to ensure you get the most out of your flying experience. Consider tours that use helicopters with large windows or, better yet, offer doors-off flights. Doors-off experiences provide unobstructed views and eliminate reflections from glass, crucial for clear aerial photography. The islands offer a plethora of tour options, each providing unique perspectives of Hawaii’s breathtaking landscapes. For those looking to book a tour that meets these criteria, HawaiiActivities.com offers a curated selection of aerial photography-friendly flights.
Gear up and Set your Sights on the Horizon!
As you set out to explore Hawaii from the air, let this guide inspire you to capture the islands’ beauty through your lens. Remember, while the goal is to return with stunning photographs, the essence of this adventure lies in experiencing the majesty of Hawaii’s landscapes from a perspective few are privileged to see. Allow yourself to be present in the moment and fully absorb the awe-inspiring vistas beyond the camera’s viewfinder.